Well for a little 30 minute project I decided to see how well TeamSpeak v3.9.0 runs in Amazon AWS EC2 t2.micro instance.
This project is based on the Reddit Guide https://www.reddit.com/r/DotA2/comments/2he801/how_to_easily_setup_your_own_free_teamspeak/
and this GazBlog Guide – https://www.gazblog.com/2018/12/setup-teamspeak-3-server-on-ubuntu-18-04/
but the instructions needed changing slightly due to Teamspeak differences and also I wanted the firewall and SSH access secured.
My reasons for this is ever since i3d stopped hosting Teamspeak getting a good UK server has proved hard so having a AWS server as a backup / used as our main comms server would be helpful.
Amazon offer 12 months free of a t2.micro instance the cheaper t2.nano is not free at the moment
To try this out for yourself you will need to sign up to Amazon AWS EC2 Services using the following link : https://aws.amazon.com/free
Fill in your details for a Personal account and verify with a Debit or Credit Card
Once signed up go to your AWS Console – https://console.aws.amazon.com/console/home
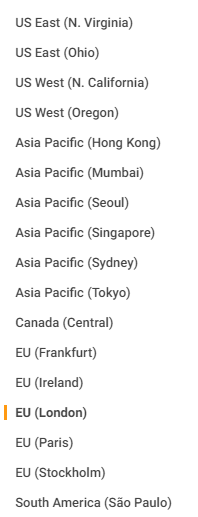
Select the region you want to host your server on – I used London as I’m based in the UK
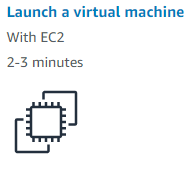
Select ‘Launch a virtual machine with EC2’
Search for Ubuntu Server 18.04 LTS
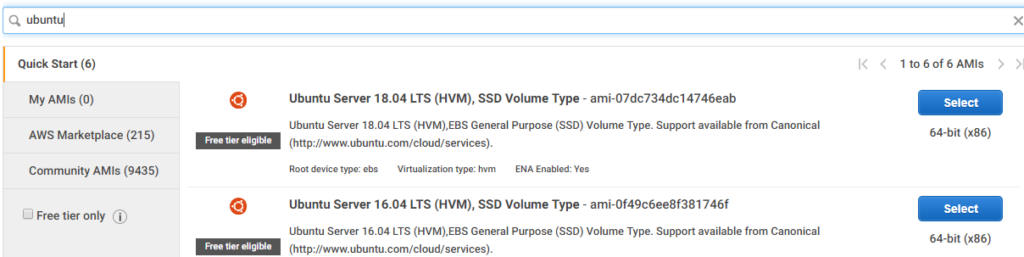
Select t2.micro ‘Free tier eligible’

Next configure your Instance Details – I left all settings at Default
Next Add Storage – I used SSD with 8Gb’s of space for /dev/sda1
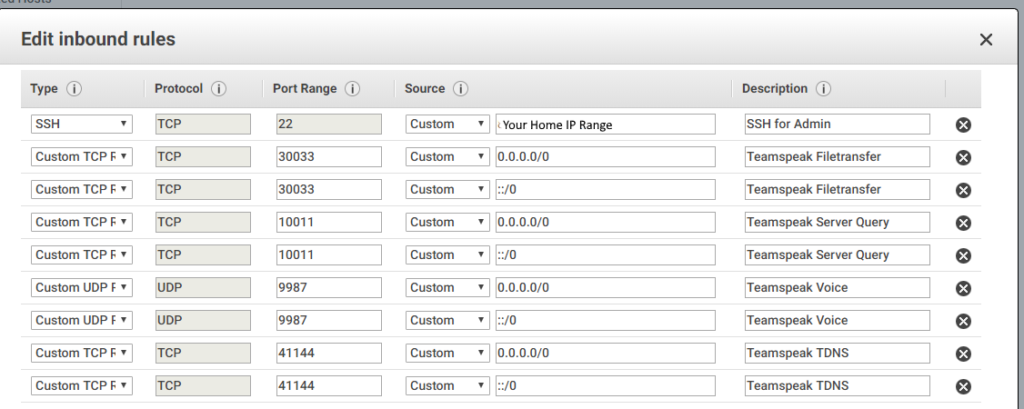
Next create a Network security group to allow TeamSpeak traffic and also Private SSH traffic back to your Home IP – I called my Group ‘ Teamspeak Server Firewall’
Now click Review and Launch – If you get a error can’t launch, wait another 10 minutes as your account may be waiting verification from Amazon.
Once launched – Change the first dropdown box to “Create a new pair” and give it a name like “Teamspeak-Access” and hit “Download Key Pair”. Then hit “Launch Instances”
Move you private Key to somewhere safe – as without this you won’t be able to SSH in to the instance
Connecting to SSH
Now I used Putty to connect to the instance – but there is a Java Client as well which can be used.
To use PuTTY, Amazon have some instructions here – https://docs.aws.amazon.com/AWSEC2/latest/UserGuide/putty.html?icmpid=docs_ec2_console
PuTTYgen has to be used to save your Key in to a accepted Putty format
To use the Java Client (Not tested as I don’t have Java) – you need to select connect with Java SSH client. Set the Private key path as the location you saved you key pair and tick Store in browser cache. Then hit Launch SSH Client
Accept the terms for everything, Press Next a few times. When the MindTerm screen opens, hit “Enter”
Setup Teamspeak 3 server on Ubuntu 18.04
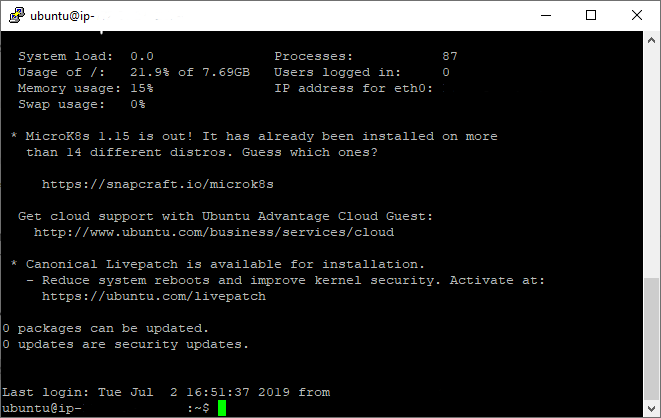
Run the following via SSH to upgrade your Distrosudo apt-get updatesudo apt-get upgradesudo apt-get dist-upgrade
Next create a user to run Teamspeak using the following commandsudo adduser --disabled-login teamspeak
sudo su teamspeak
cd /home/teamspeak
Run the following commands to:
Download Teamspeak, extract it and tidy up. wget https://files.teamspeak-services.com/releases/server/3.9.0/teamspeak3-server_linux_amd64-3.9.0.tar.bz2tar xvfj teamspeak3-server_linux_amd64-3.9.0.tar.bz2cd teamspeak3-server_linux_amd64cp * -R /home/teamspeakcd ..rm -r teamspeak3-server_linux_amd64rm teamspeak3-server_linux_amd64-3.9.0.tar.bz2touch .ts3server_license_accepted
Next start the TS3 Server with the following command
./ts3server_startscript.sh start
It should start up – copy out the text that spits out as it will contain your access token and Server Query admin account details – Don’t lose it!
Press Enter to return to the command prompt
Finally stop the server and Exit the Teamspeak user with the following commands
./ts3server_startscript.sh stopexit
Now we will create a restart script using systemd to restart it on boot.
Run the below command (This should open a blank pape)
sudo nano /lib/systemd/system/ts3server.service
Copy the below and paste it:
[Unit]Description=Teamspeak ServiceWants=network.target[Service]WorkingDirectory=/home/teamspeakUser=teamspeakExecStart=/home/teamspeak/ts3server_minimal_runscript.shExecStop=/home/teamspeak/ts3server_startscript.sh stopExecReload=/home/teamspeak/ts3server_startscript.sh restartRestart=alwaysRestartSec=15 [Install]WantedBy=multi-user.target
Now we need to save it
Press CTRL and X together, then Press Y
Now we need to enable it, by typing in the following command
systemctl enable ts3server.service
Type the following to reboot you server
sudo reboot
Connecting to the TeamSpeak instance
Connect using your Public DNS bookmark – for example ec2-somedetails-.eu-west-2.compute.amazonaws.com
Then claim ownership using the Teamspeak client with your access Token (Right click – Manage Virtual Server)
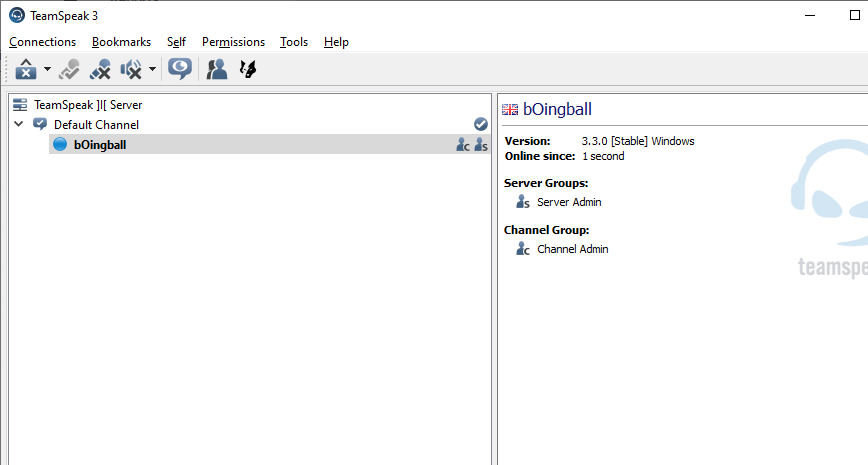

And the performance seems great
I noticed a typo in one of the commands
sudo adduser –disabled-login teamspeak
Should be
sudo adduser –disabled-login teamspeak
Thanks for the credit 🙂
It should be double dashed not one dash.
Cheers Gaz! never noticed the typo – will check and correct
Actually it was correct but displaying wrong – I’ve formatted it as a code block now.
1980s ‘farming crisis’ the place the necessity for cheap food, driven by falling wages, lead to authorities subsidies for big
Agro-business, and the rise of factory farming.
The butterfly possess great tolerance to suspended solids.