sudo apt install cups
:: Setup cups - Remote-Access
sudo cupsctl --remote-any
:: Setup cups - Share Printers and Remote Admin
sudo cupsctl --share-printers --remote-admin
:: Restart Cups for changes to take effect
sudo systemctl restart cups
:: Grant PI User access to CUPS Admin
sudo usermod -a -G lpadmin pi
:: Install xinetd
sudo apt-get install -y xinetd
:: Edit cups-lpd file
sudo nano /etc/xinetd.d/cups-lpd
:: Enter this text for that file
service printer
{
socket_type = stream
protocol = tcp
wait = no
user = lp
server = /usr/lib/cups/daemon/cups-lpd
server_args = -o document-format=application/octet-stream -o job-sheets=non$
disable = no
}
:: Restart xinetd
Sudo /etc/init.d/xinetd restart
:: Setup your Printer in CUPS admin page – make sure it works by printing a test page in Cups :: Restart the Raspberry PI :: Setup the NetPrinter on the Amiga https://aminet.net/package/comm/tcp/NetPrinter Make sure PostScript is selected om the Printer Prefs Make sure to turn colour on with the PrinterPS Prefs Try printing a picture On the PI you can monitor the incoming job log with grep -rn “cups-lpd” /var/log/ Release the job to the printer in CUPS Webpage as it will be held
Background Microsoft Edge with Internet Explorer mode will replace the Internet Explorer 11 desktop app, which will be retired on June 15, 2022. IE mode support follows the lifecycle of Windows client, Server, and IoT releases at least through 2029
If you have websites that require Internet Explorer 11 in your business still, you have some work to do before it will work in Edge. – This guide shows you how it works in an Domain Controlled Environment. Remote workstations and Laptops can use InTune as well if they have no Domain Controller.
Your Mileage may vary and this might not be the best practise at time of reading. – I read the Microsoft guides in Feb 2022 and based all this on them. This has been rolled out at my work and has worked so far correctly.
To take advantage of the benefits of .admx files, you must create a Central Store in the sysvol folder on a Windows domain controller. The Central Store is a file location that is checked by the Group Policy tools by default. The Group Policy tools use all .admx files that are in the Central Store. The files that are in the Central Store are replicated to all domain controllers in the domain.
To use ADMX files in Group Policy the following needs done on the Domain Controller
On the domain controller – Copy the PolicyDefinitions folder to your SYSVOL PolicyDefinitions Folder Example – \\DOMAINCONTROLLER-NAME\SYSVOL\DOMAINNAME.LOCAL\Policies\
1. Click User Configuration/Computer Configuration > Policies > Administrative Templates > Microsoft Edge. 2. Double-click ‘Configure Internet Explorer integration.’ 3. Select Enabled. 4. Under Options, set the dropdown value to Internet Explorer mode – Press Apply OK 5. Double-click Configure the Enterprise Mode Site List. 5. Select Enabled. 6. Under Options, type the location of website list. You can use one of the following locations: o Set this too your domain share where you copied the sites.xml at the start – ie. \\DOMAINCONTROLLER-NAME\SYSVOL\DOMAINNAME.LOCAL\Policies\sites.xml 7. Click OK or Apply to save these settings. 8. Double-Click Configure the Enterprise Mode Cloud Site List (Only if you are using a Cloud Site List in Office 365) 9. Click Not Configured 10. Set the List option to your Cloud Site List ID 11. Double-click Send all intranet sites to Internet Explorer 12. Select Enabled 13. Click OK or Apply to save these settings.
Create another group policy and name this Internet Explorer Compatibility Mode – Trusted Sites
Open the Group Policy – Internet Explorer Compatibility Mode – Trusted Sites.
Go to User Configuration> Policies > Administrative Templates > Windows Components >Internet Explorer > Internet Control Panel > Security Page.
Select the Site to Zone Assignment List.
Select Enabled and click Show to edit the list. Refer to Figure 1 below. The zone values are as follows: 1 — intranet, 2 — trusted sites, 3 — internet zone, 4 — restricted sites.
Click OK.
Click Apply and OK.
Test your Policies
On a target client device, open Microsoft Edge and navigate to edge://policy to see all policies that are applied. If you applied policy settings on the local computer, policies should appear immediately. You may need to close and reopen Microsoft Edge if it was open while you were configuring policy settings.
So, I enjoy playing computer games as a hobby and over the years there has been clip service websites popping up to show off your best moments. https://medals.tv is one of these.
However there’s no plugin for WordPress to bring these videos in to posts automatically.
This plugin I’ve created allows you to use the short code medaltv to show your latest videos which you have uploaded to there service via the MedalTV API
Example of this running below
Challenges I’ve faced making this, WordPress and PHP have come a long way since I last looked at how a WordPress Plugin worked. Securing Input and Validation as I’ve also added a Admin Menu to this code.
Well with Retro being the new thing I thought it was time to get my Amiga 1200 singing and dancing again and also document all the things I’ve done to make it work.
For a start the amount of things they have improved on the Amiga scene since 1999 has peaked my interest up again.
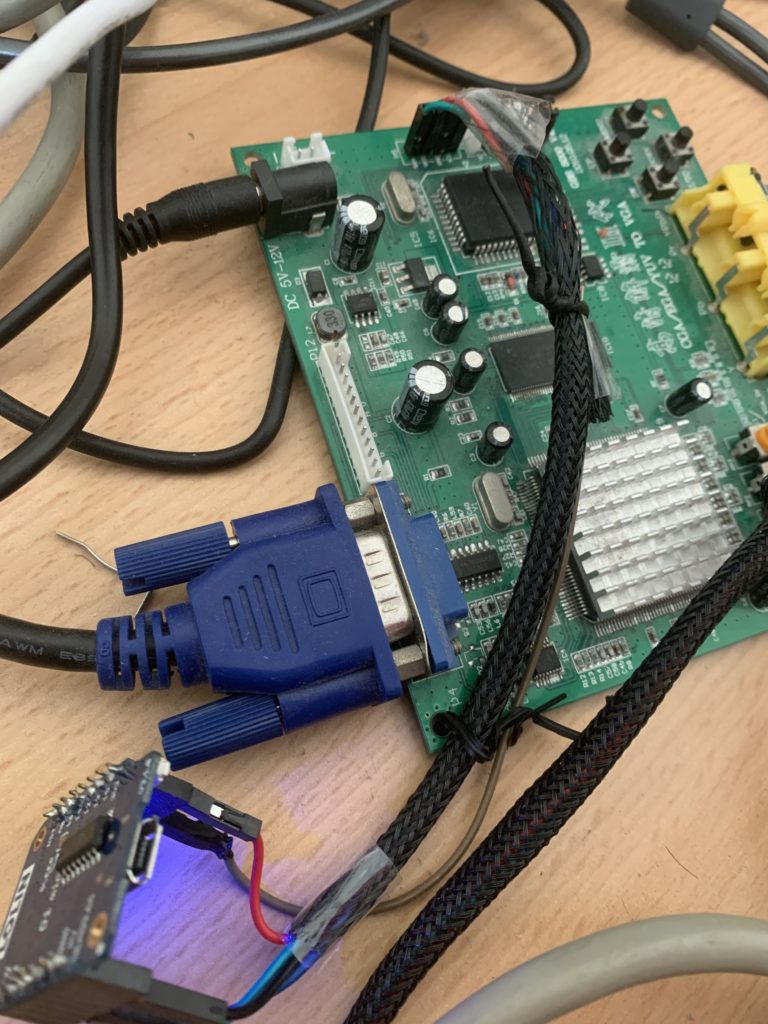
I will publish various Parts to this series when I get time to write about them, but to start you off this is Part 1 which shows you what you require to get your Amiga to output to VGA
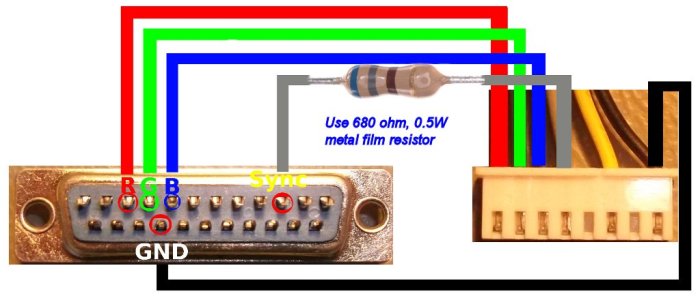
Creating the DB23 to GBS Lead – the GBS8200 comes with a lead which can be soldered straight to a the pins of the DB23 connector – the Wiring diagram below shows you which wires need to be connected – Yellow and Brown are not used in this setup and can be removed by pressing in to the rectangle tab and pulling the wire out.
The 680 ohm resistor is soldered inline on the grey wire and heat-shrink is applied to keep it protected
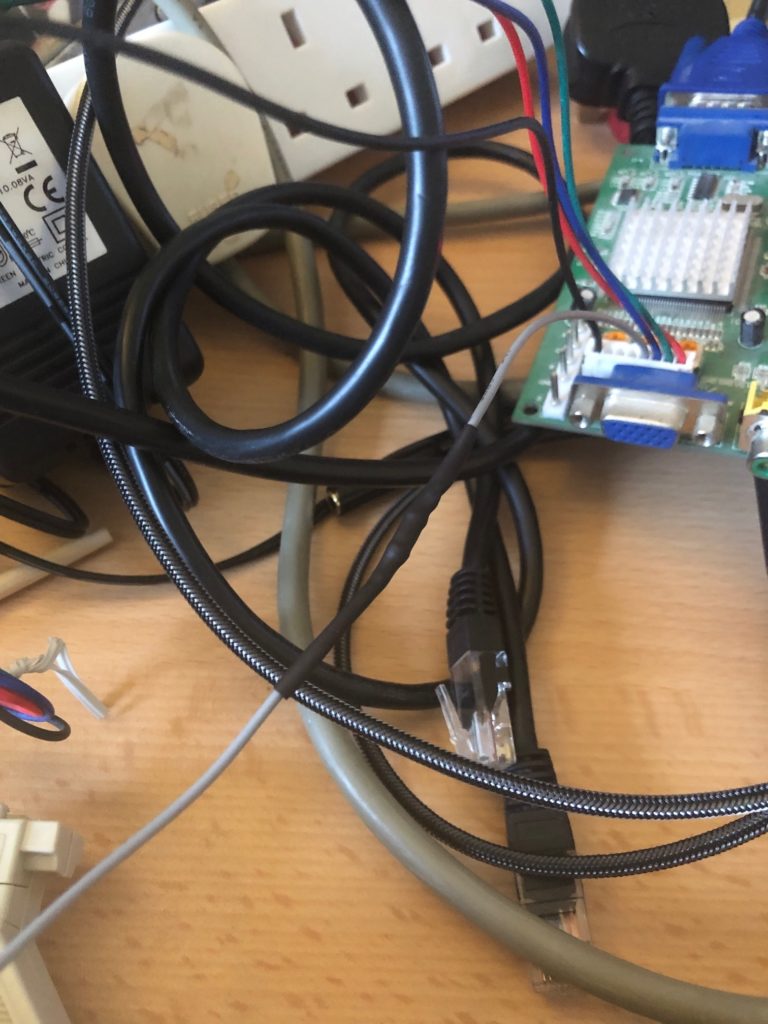
The grey wire with the resistor soldered
Cable tidy mesh used around the completed wire
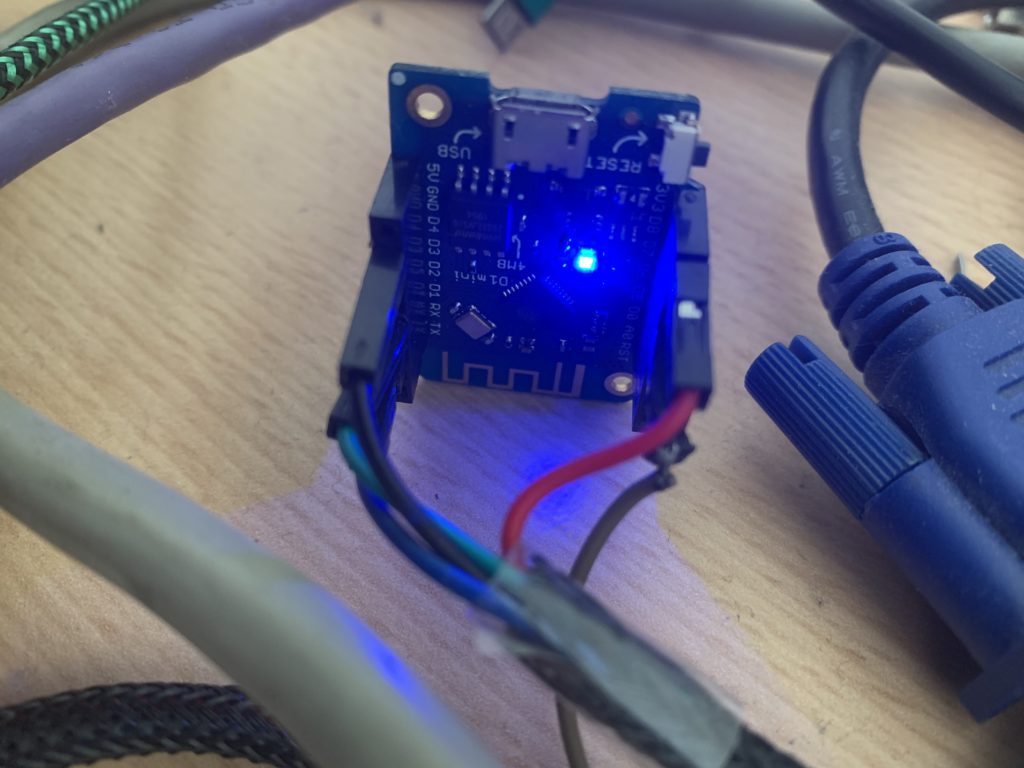
GBS8200 + ESP8266 (Optional but recommended)
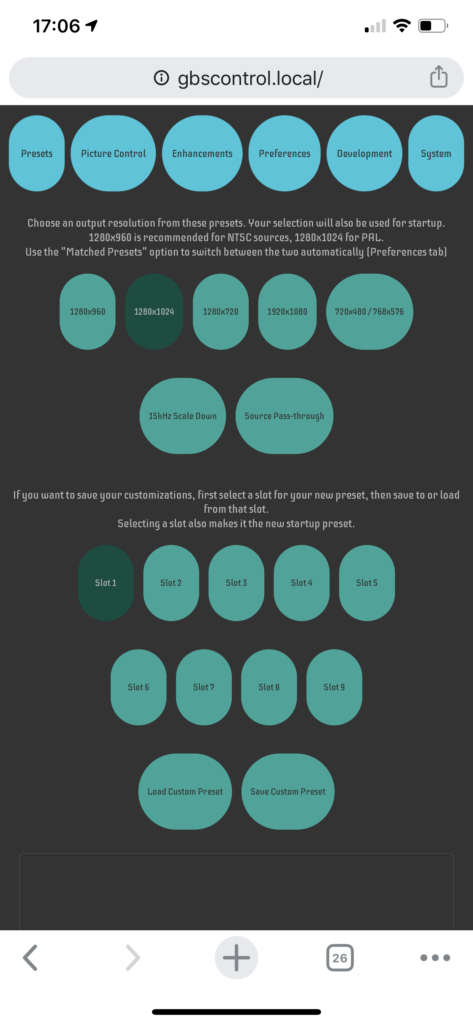
If you build the optional GBS Control unit, the ESP8266 joins on to the GBS8200 like the following pictures and gives you finer control (via. a webpage) and better picture output whilst using the GBS8200
GBS Control Webpage
The Amiga A1200 outputting a Disk Based game via the GBS8200 + ESP8266
After installing Amiga OS3.1.4.1, I’ve noticed that the 68030.library and MMU support with ACATune does not work correctly on my older ACA Card.
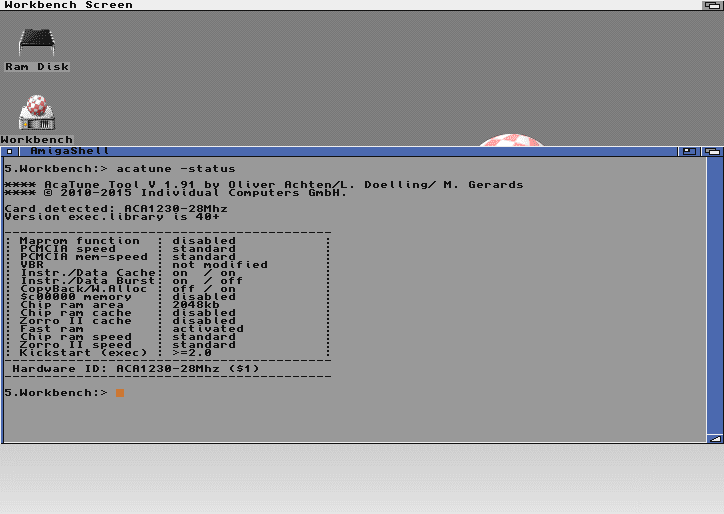
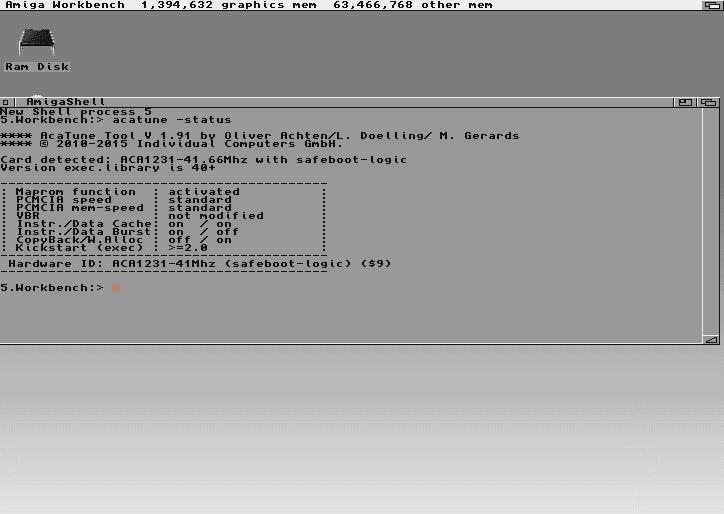
Running ACATune -status shows that the ACA1231-41Mhz card is being detected as a ACA1230-28Mhz card with not features enabled.
To fix this problem please follow the guide below
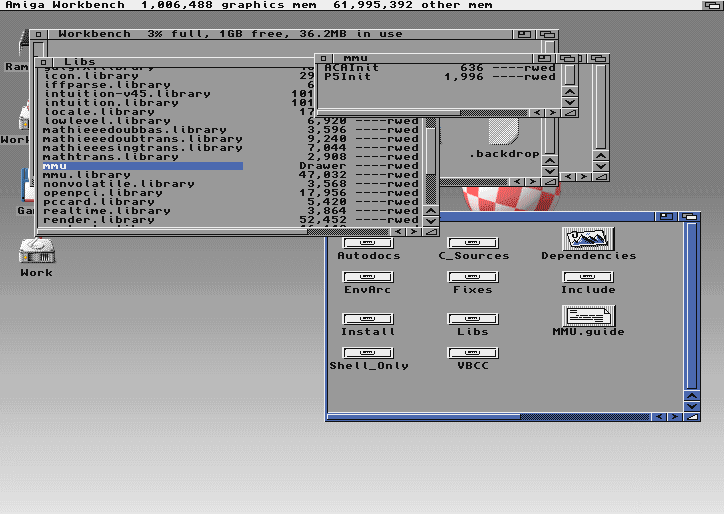
1 : To check if you have a problem with your ACA Accelerator card, Open up a Shell and type acatune -status
I have a ACA1231 but in ACATune it’s coming up as a ACA1230 with the wrong clock speed and also no features enabled.
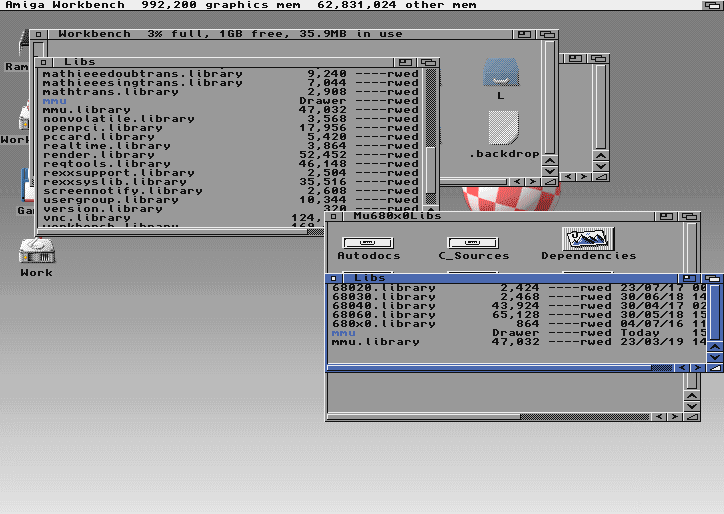
2: Download the latest version of Mu680x0Libs – http://aminet.net/package/util/sys/Mu680x0Libs and extract to a folder, In there run the Install in the Install folder – I picked Novice Level and let it install where it wanted
3: Once installed, Copy the ACAInit file from the Mu680x80Libs/Libs/MMU folder to your Libs:MMU
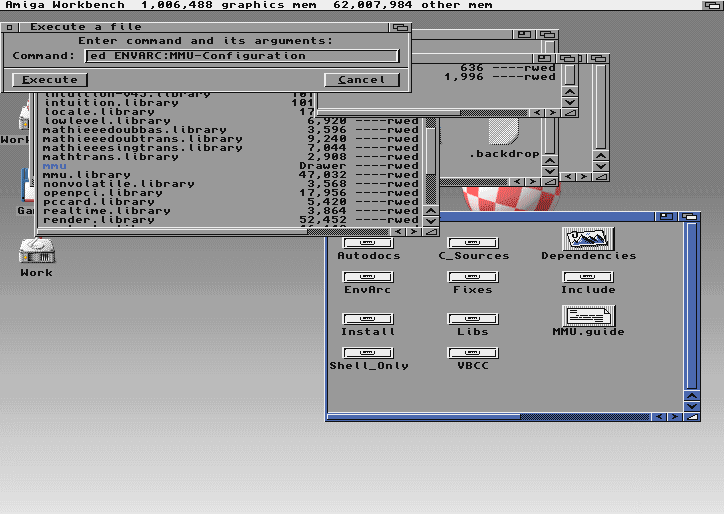
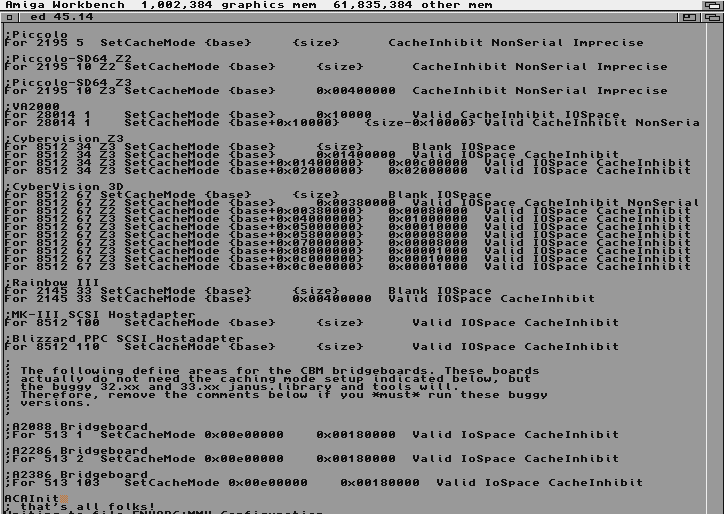
4: Now edit the file ENVARC:MMU-Configuration and add ACAInit to the line before ;that’s all folks!
5: Turn the Amiga off and wait a few seconds, then back on. Once it’s booted try ACATune -status to make sure it’s working OK
in Solarwinds SAM I was getting this error when trying to check for a running Process using Solarwinds Agents + WMI
After a bit of digging I found that on the computer in question, Opening windows Performance Monitor would give the error
Unable to add these counters:
\Memory\Available MBytes \Memory\% Committed Bytes In Use \Memory\Cache Faults/sec \Memory\Cache Faults/sec \PhysicalDisk(*)\%Idle Time \PhysicalDisk(*)\Avg. Disk Queue Length \Network Interface(*)\Bytes Total/sec”
Open CMD as administrator CD C:\Windows\System32 lodctr /r CD C:\Windows\SysWOW64 lodctf /r lodctf /q This will query the Performance Metrics library’s installed on the machine Copy this list in a notepad and check for items that are disabled For each disabled entry you will need to run the command lodctr /e:<providername>
Once done you should be able to use your monitor in Solarwinds
My reasons for this is ever since i3d stopped hosting Teamspeak getting a good UK server has proved hard so having a AWS server as a backup / used as our main comms server would be helpful.
Amazon offer 12 months free of a t2.micro instance the cheaper t2.nano is not free at the moment
To try this out for yourself you will need to sign up to Amazon AWS EC2 Services using the following link : https://aws.amazon.com/free
Fill in your details for a Personal account and verify with a Debit or Credit Card
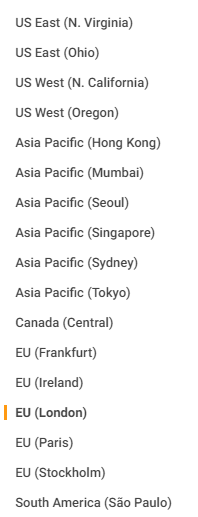
Once signed up go to your AWS Console – https://console.aws.amazon.com/console/home Select the region you want to host your server on – I used London as I’m based in the UK
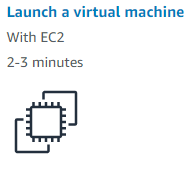
Select ‘Launch a virtual machine with EC2’
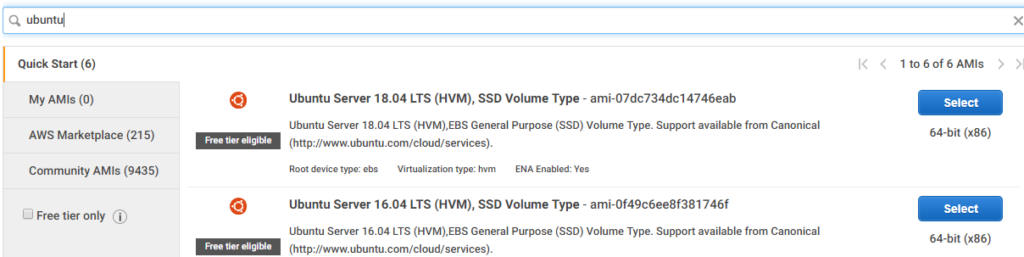
Search for Ubuntu Server 18.04 LTS
Select t2.micro ‘Free tier eligible’
Next configure your Instance Details – I left all settings at Default Next Add Storage – I used SSD with 8Gb’s of space for /dev/sda1
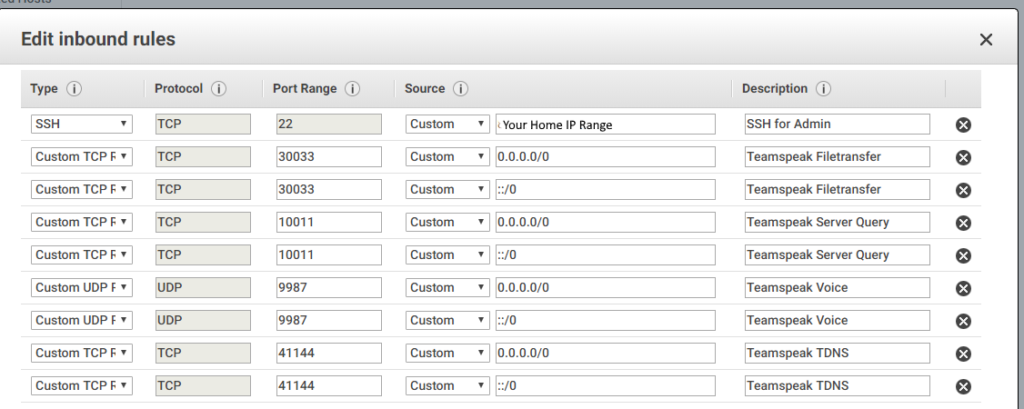
Next create a Network security group to allow TeamSpeak traffic and also Private SSH traffic back to your Home IP – I called my Group ‘ Teamspeak Server Firewall’
Now click Review and Launch – If you get a error can’t launch, wait another 10 minutes as your account may be waiting verification from Amazon.
Once launched – Change the first dropdown box to “Create a new pair” and give it a name like “Teamspeak-Access” and hit “Download Key Pair”. Then hit “Launch Instances”
Move you private Key to somewhere safe – as without this you won’t be able to SSH in to the instance
To use the Java Client (Not tested as I don’t have Java) – you need to select connect with Java SSH client. Set the Private key path as the location you saved you key pair and tick Store in browser cache. Then hit Launch SSH Client Accept the terms for everything, Press Next a few times. When the MindTerm screen opens, hit “Enter”
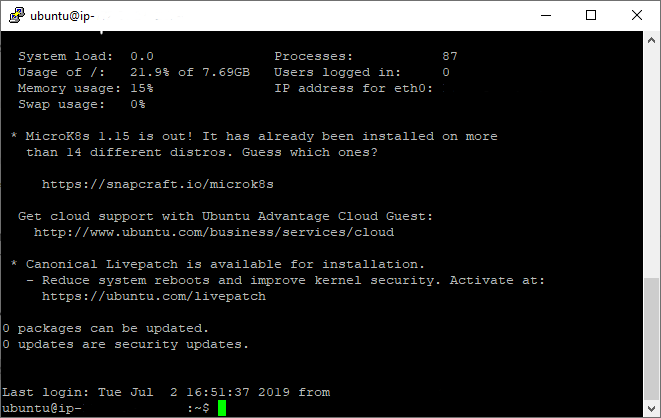
Connected!
Setup Teamspeak 3 server on Ubuntu 18.04
Run the following via SSH to upgrade your Distro sudo apt-get update sudo apt-get upgrade sudo apt-get dist-upgrade
Next create a user to run Teamspeak using the following command sudo adduser --disabled-login teamspeak sudo su teamspeak cd /home/teamspeak
Run the following commands to: Download Teamspeak, extract it and tidy up. wget https://files.teamspeak-services.com/releases/server/3.9.0/teamspeak3-server_linux_amd64-3.9.0.tar.bz2 tar xvfj teamspeak3-server_linux_amd64-3.9.0.tar.bz2 cd teamspeak3-server_linux_amd64 cp * -R /home/teamspeak cd .. rm -r teamspeak3-server_linux_amd64 rm teamspeak3-server_linux_amd64-3.9.0.tar.bz2 touch .ts3server_license_accepted
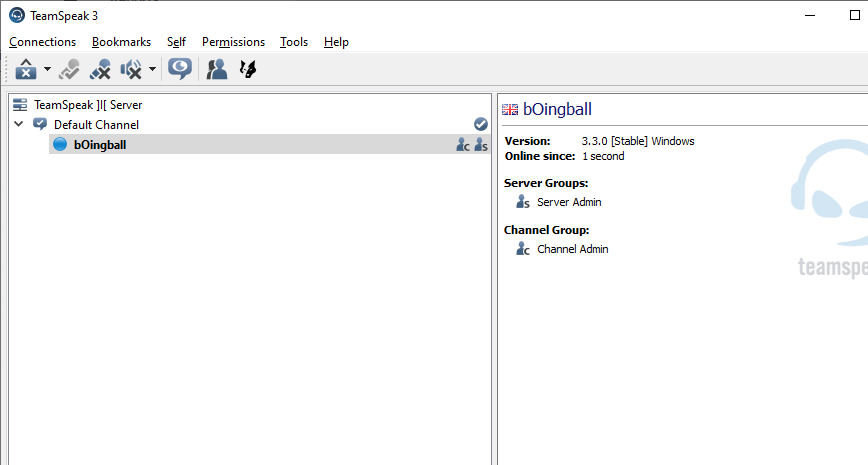
Next start the TS3 Server with the following command ./ts3server_startscript.sh start It should start up – copy out the text that spits out as it will contain your access token and Server Query admin account details – Don’t lose it!
Press Enter to return to the command prompt Finally stop the server and Exit the Teamspeak user with the following commands ./ts3server_startscript.sh stop exit
Now we will create a restart script using systemd to restart it on boot. Run the below command (This should open a blank pape) sudo nano /lib/systemd/system/ts3server.service
Copy the below and paste it:
[Unit] Description=Teamspeak Service Wants=network.target
The default rate limit is 60 requests per minute, however with my LogMeIn One2Many task I was sending around 300 API requests a minute making my task fail.
This change will also need to be made each time you upgrade your Snipe-IT version until they move this Variable to the .env file
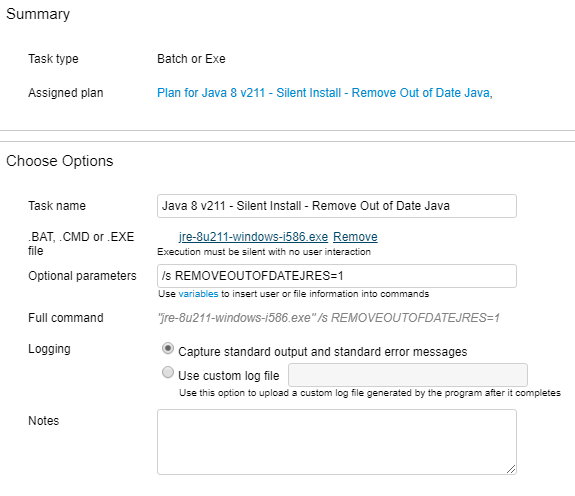
The Above settings will setup a One2Many Plan to install Java on the local machine and remove any older versions – Change REMOEVOUTOFDATEJRES=0 to keep older JRE’s installed
I’ve been working on a system to deploy a Master Windows 10 image from MDT to remote sites that have no direct LAN to LAN connection. And also update the Asset Registry at the same time.
MDT / WDS / PXE Server
The MDT / WDS / PXE server is hosted on the HQ LAN, this can only PXE / Litetouch computers on the same LAN.
SyncThing
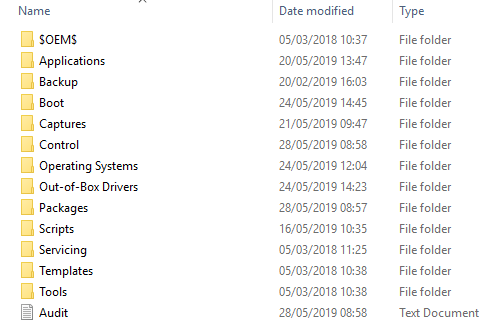
SyncThingSyncTrayzor makes it possible to share the DeploymentShare which hosts the MDT image with other sites by making a receive only sync on the remote file servers. Setup the DeploymentShare$ on the remote site as you would be on the local LAN and install Deployment Workbench / ADK for completeness.
This gives the Option to use the LiteTouch script to upgrade computers remotely
SnipeIT + API
SnipeIT is a free open source application for asset management – by itself it’s a manual process to enter assets and track them. It does have an API to use however which allows you to automate this process.
Marksman creates a new asset in SnipeIT from the local computer details but cannot update an asset already in the system.
Recon (Created by me but unreleased as of yet) updates the asset details in SnipeIT from the local computer details.
This can be run as a one off, inside the Litetouch process (So when a computer is imaged the asset details are automatically put in to SnipeIT).
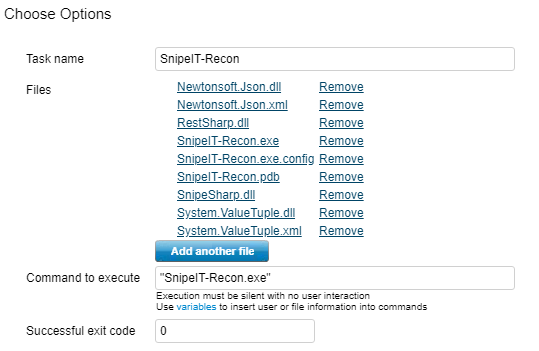
Logmein One2Many
Logmein One2Many allows you to run an exe file on all controlled computers, so putting in Marksman and Recon you can update your computer asset database with one click.