Category Archives: Amiga

Install CUPS and CUPS-LPD on a RaspberryPI for Amiga Printing

First Install Cups

sudo apt install cups
:: Setup cups - Remote-Access
sudo cupsctl --remote-any
:: Setup cups - Share Printers and Remote Admin
sudo cupsctl --share-printers --remote-admin
:: Restart Cups for changes to take effect
sudo systemctl restart cups
:: Grant PI User access to CUPS Admin
sudo usermod -a -G lpadmin pi
:: Install xinetd
sudo apt-get install -y xinetd
:: Edit cups-lpd file
sudo nano /etc/xinetd.d/cups-lpd
:: Enter this text for that file
service printer
{
socket_type = stream
protocol = tcp
wait = no
user = lp
server = /usr/lib/cups/daemon/cups-lpd
server_args = -o document-format=application/octet-stream -o job-sheets=non$
disable = no
}
:: Restart xinetd
Sudo /etc/init.d/xinetd restart

:: Setup your Printer in CUPS admin page – make sure it works by printing a test page in Cups
:: Restart the Raspberry PI
:: Setup the NetPrinter on the Amiga https://aminet.net/package/comm/tcp/NetPrinter
Make sure PostScript is selected om the Printer Prefs
Make sure to turn colour on with the PrinterPS Prefs
Try printing a picture
On the PI you can monitor the incoming job log with
grep -rn “cups-lpd” /var/log/
Release the job to the printer in CUPS Webpage as it will be held
Back to the Amiga – Pt. 1

Well with Retro being the new thing I thought it was time to get my Amiga 1200 singing and dancing again and also document all the things I’ve done to make it work.

For a start the amount of things they have improved on the Amiga scene since 1999 has peaked my interest up again.

If you don’t know what the Amiga is the Wiki page here goes through the lot : https://en.wikipedia.org/wiki/Amiga

I will publish various Parts to this series when I get time to write about them, but to start you off this is Part 1 which shows you what you require to get your Amiga to output to VGA

What do you require to start?

First you will need a Commodore Amiga A1200

If you just want to use the system to play games from Disk and want to use this with a VGA monitor you only require the following extra equipment:

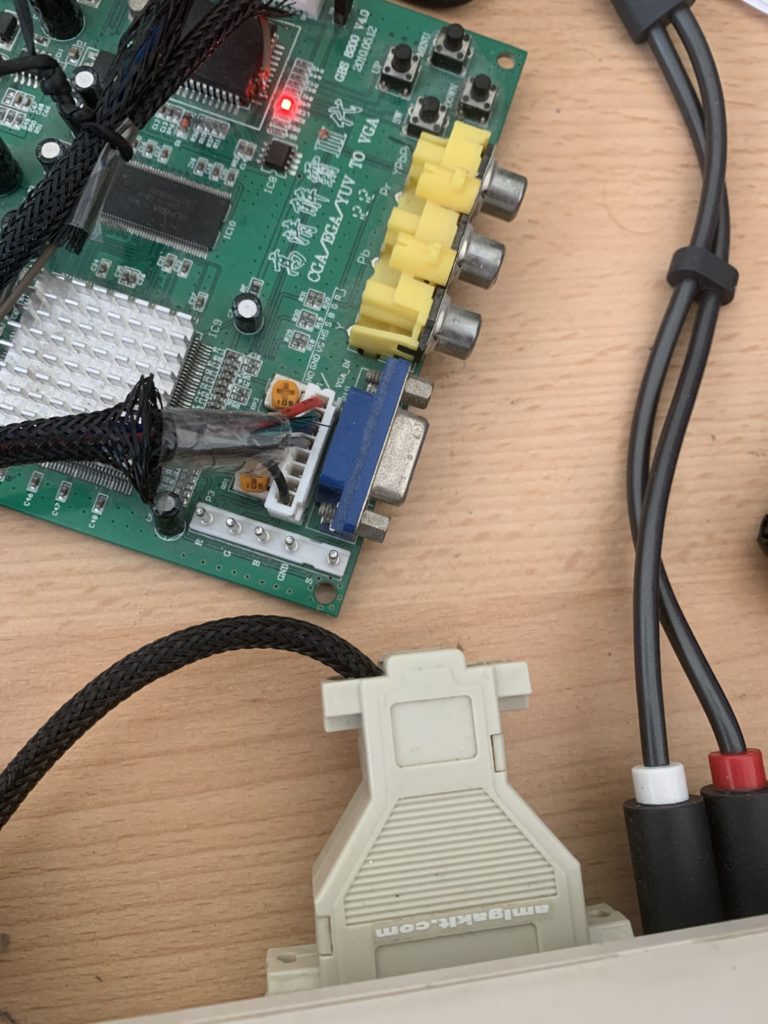
GBS8200 CGA/EGA/VGA converter – This can convert the Amiga’s RBG output and to work on VGA out.
A 680 ohm resistor to create this lead and Heat-shrink to make it neat.
Amiga DB23 to VGA Adapter to pull apart for the lead to the GBS8200
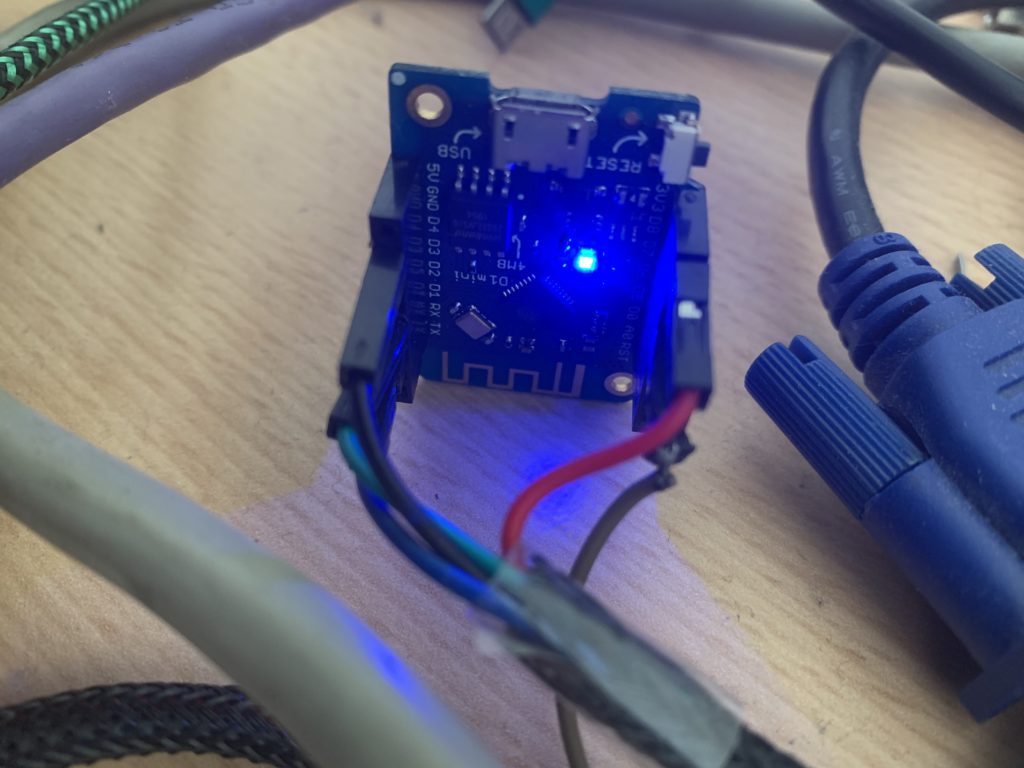
Optional but Recommended : Wemos D1 Mini Pro ESP8266 – This allows you to make the GBS8200 better by using the application GBS Control
On how to build the hardware for GBS Control the instructions can be found on there Wiki – https://github.com/ramapcsx2/gbs-control/wiki/Build-the-Hardware

GBS8200 Setup for Video Output to VGA

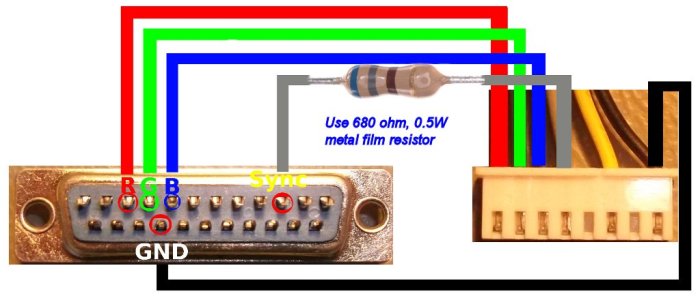
Creating the DB23 to GBS Lead – the GBS8200 comes with a lead which can be soldered straight to a the pins of the DB23 connector – the Wiring diagram below shows you which wires need to be connected – Yellow and Brown are not used in this setup and can be removed by pressing in to the rectangle tab and pulling the wire out.

GBS-82XX-cable

The 680 ohm resistor is soldered inline on the grey wire and heat-shrink is applied to keep it protected

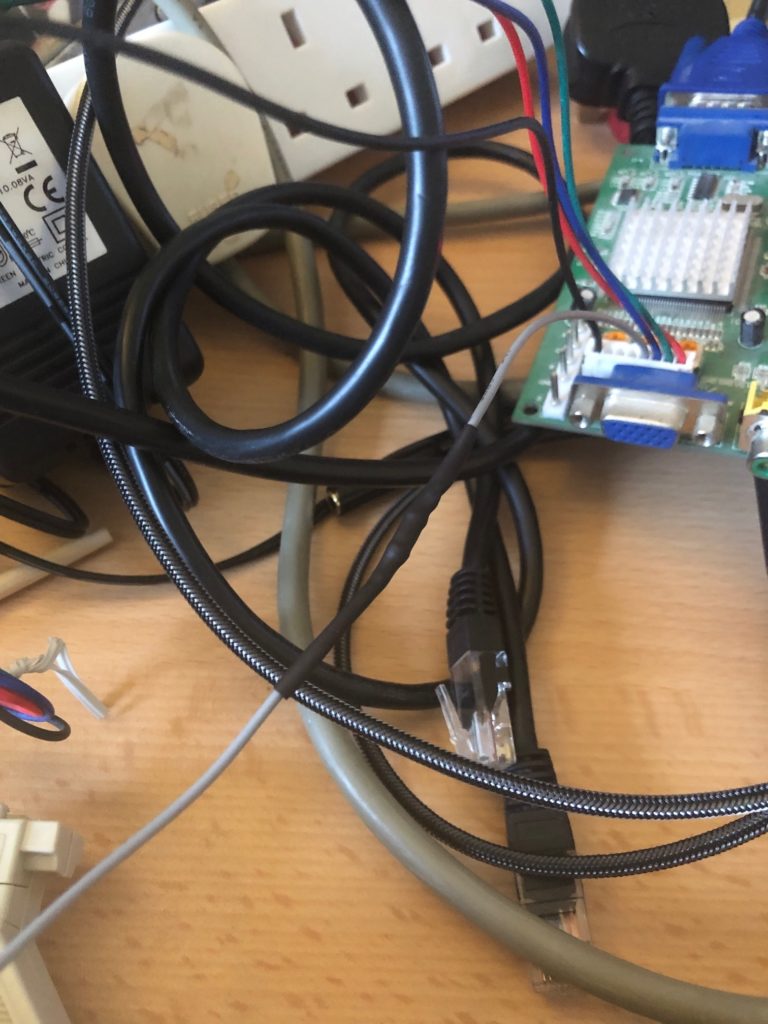
The grey wire with the resistor soldered
Cable tidy mesh used around the completed wire

GBS8200 + ESP8266 (Optional but recommended)

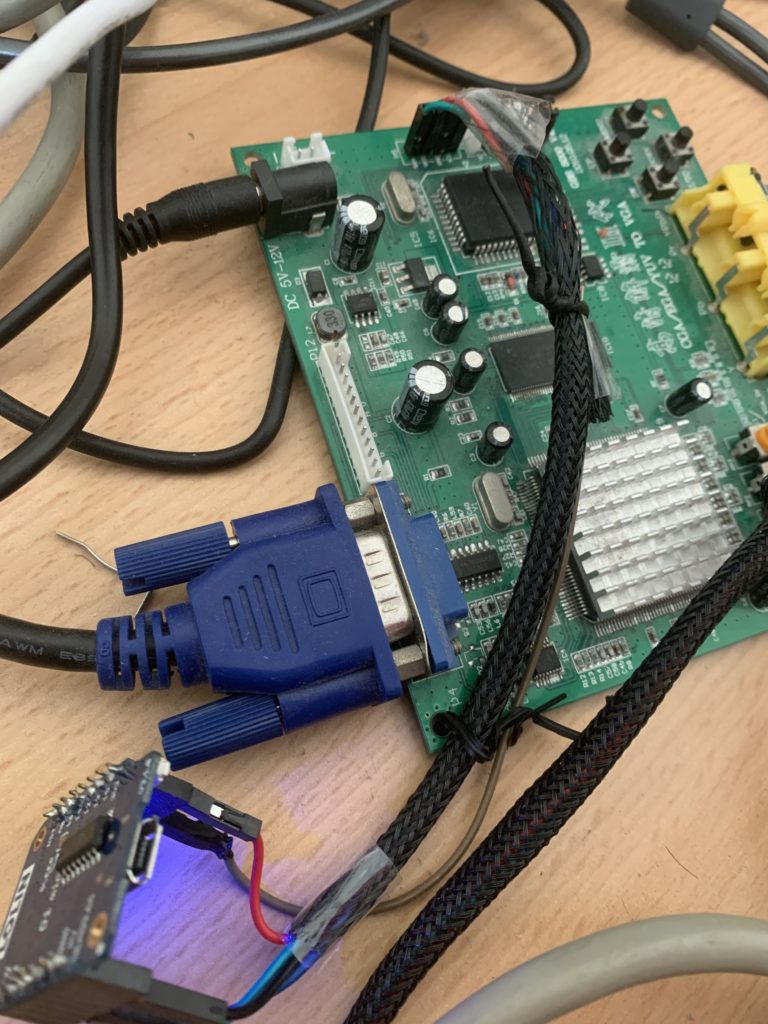
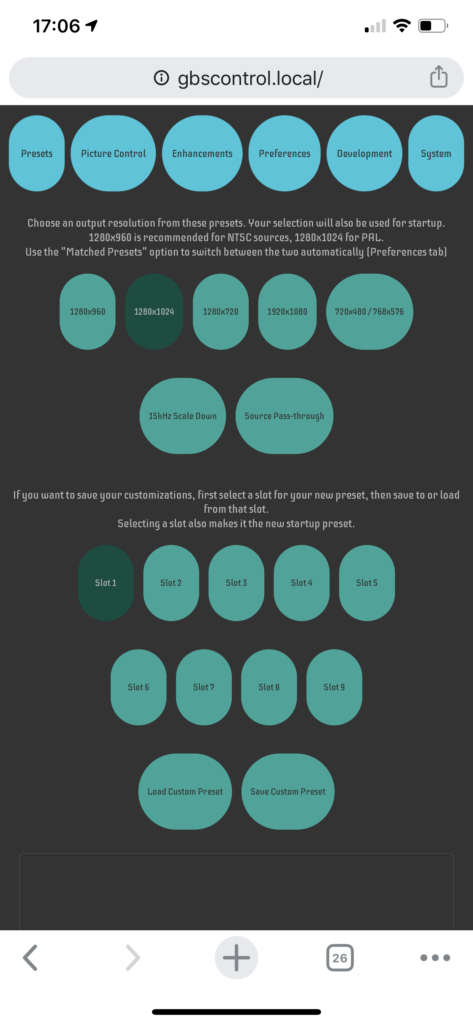
If you build the optional GBS Control unit, the ESP8266 joins on to the GBS8200 like the following pictures and gives you finer control (via. a webpage) and better picture output whilst using the GBS8200

GBS Control Webpage
The Amiga A1200 outputting a Disk Based game via the GBS8200 + ESP8266

ACA1231 on OS3.1.4.1

After installing Amiga OS3.1.4.1, I’ve noticed that the 68030.library and MMU support with ACATune does not work correctly on my older ACA Card.

Running ACATune -status shows that the ACA1231-41Mhz card is being detected as a ACA1230-28Mhz card with not features enabled.

To fix this problem please follow the guide below

1 : To check if you have a problem with your ACA Accelerator card, Open up a Shell and type acatune -status

I have a ACA1231 but in ACATune it’s coming up as a ACA1230 with the wrong clock speed and also no features enabled.

2: Download the latest version of Mu680x0Libs – http://aminet.net/package/util/sys/Mu680x0Libs and extract to a folder, In there run the Install in the Install folder – I picked Novice Level and let it install where it wanted

3: Once installed, Copy the ACAInit file from the Mu680x80Libs/Libs/MMU folder to your Libs:MMU

4: Now edit the file ENVARC:MMU-Configuration and add ACAInit to the line before ;that’s all folks!

5: Turn the Amiga off and wait a few seconds, then back on. Once it’s booted try ACATune -status to make sure it’s working OK